I live in an “ingredient home”. This means I have food staples that I turn into meals, snacks, etc. One of things I make is Greek yogurt. It is really pretty simple and once you do it, you’ll wonder why you haven’t always been making your own yogurt.
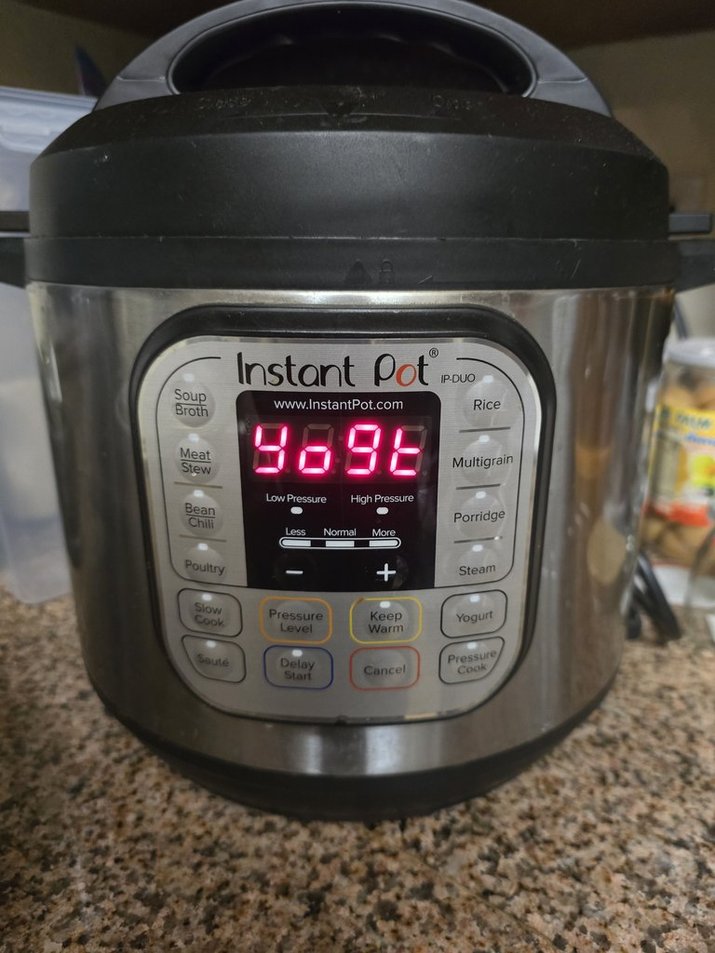
There are a variety of ways to make homemade yogurt. For me, I personally use a 6-quart Instant Pot.*** I had to have one back when they were all the rage. Boy, that phrase will surly date me. I specifically bought one that had the yogurt setting. I knew I wanted to make yogurt. I remember my mom doing it when I was young. Hers were in little jars and back then I couldn’t appreciate the non-flavored ones. Now, I prefer it so I can add fruits or use the plain yogurt in my cooking.
We are a small family of three people. I buy the milk at Costco, but it’s just more cost efficient. With only three people in the house, consuming two gallons of milk in two weeks can be a bit much. Enter…yogurt making!
I buy 2% milk, but whole milk will give you a creamier yogurt. I will use a 2 parts milk to 1 part heavy cream and the yogurt is nice and creamy when done. I will let you look up an exact recipe, but the gist of yogurt making is bring 8 cups of milk or milk and heavy cream mixture to a temperature of 180 degrees Fahrenheit. Then cool it down to 110 degrees Fahrenheit. You can let it naturally cool down (takes about an hour), or put the insert in the sink with some ice water and it takes roughly 10 minutes. I opt for the shorter time.
Now that the milk has cooled to 110 degrees Fahreneit, it’s time to mix in about two tablespoons of yogurt with live cultures. Return the insert back to the Instant Pot base (make sure to dry the bottom if it was in ice water). Take about a cup of the milk, put it in a small bowl, add the yogurt. Whisk together until combined and then add back to the milk mixture and give it a good stir. Reset the Instant Pot to 8 or 10 hours. I find that 8 hours is fine, but I’ve used 10 hours in the past too. Put the lid back on (not sealing for pressure cooking though). That’s it.
It’s time…the yogurt is done! Well, almost. It’s done and edible at this stage, but for Greek Yogurt, there’s one more step. Straining the yogurt. When I first started out, I would use cheese cloth over a fine mesh strainer. It worked, but I knew there had to be a better way. There is and it’s a simple yogurt strainer.***

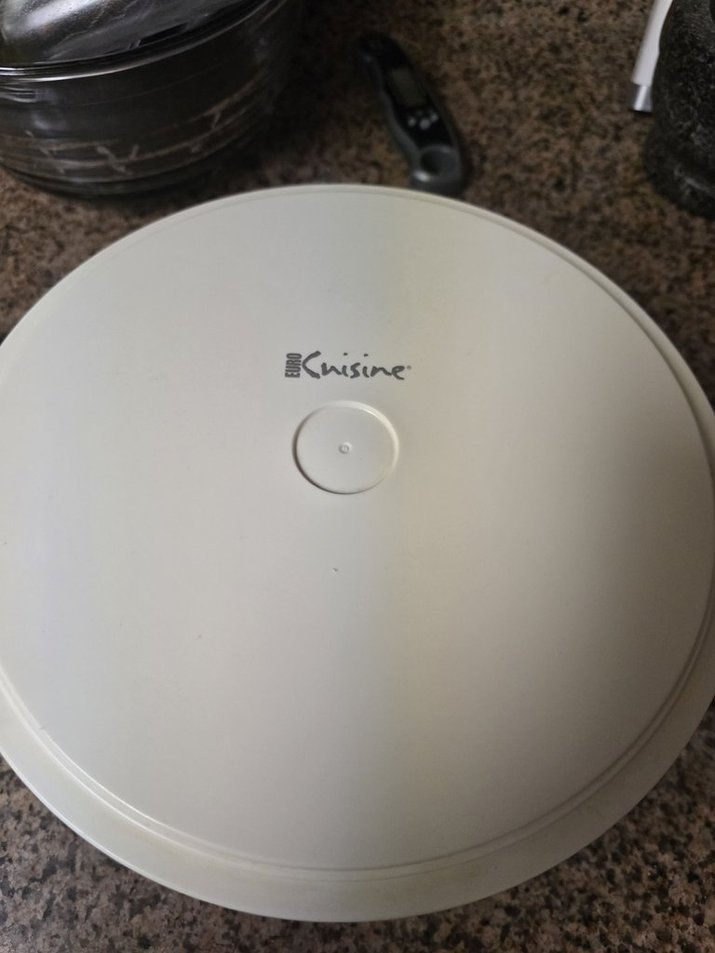
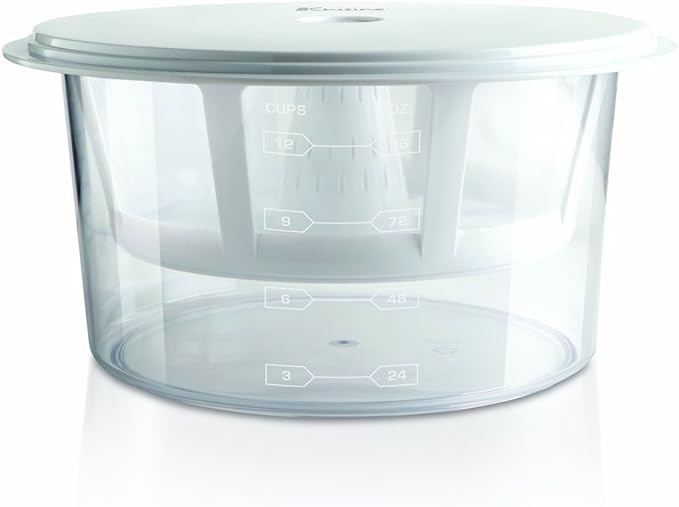
It’s a very simple gadget. A bowl with fine mesh that drips into a larger bowl. The pictures on the left are my strainer and lid and the picture on the right is the same one, just an updated version. I have had my strainer for 8 years now.
The yogurt will look a little soupy when you first add it to the strainer.

I put let my rest in the refrigerator for at least 12 hours to drain properly.
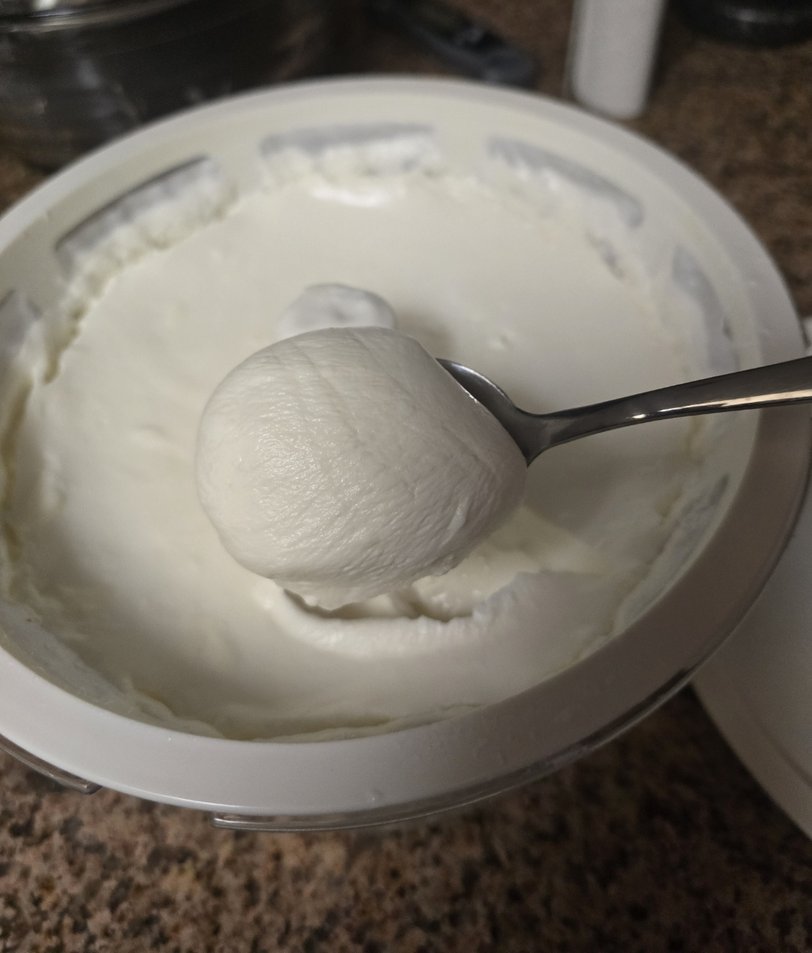
The finish result will look like this. 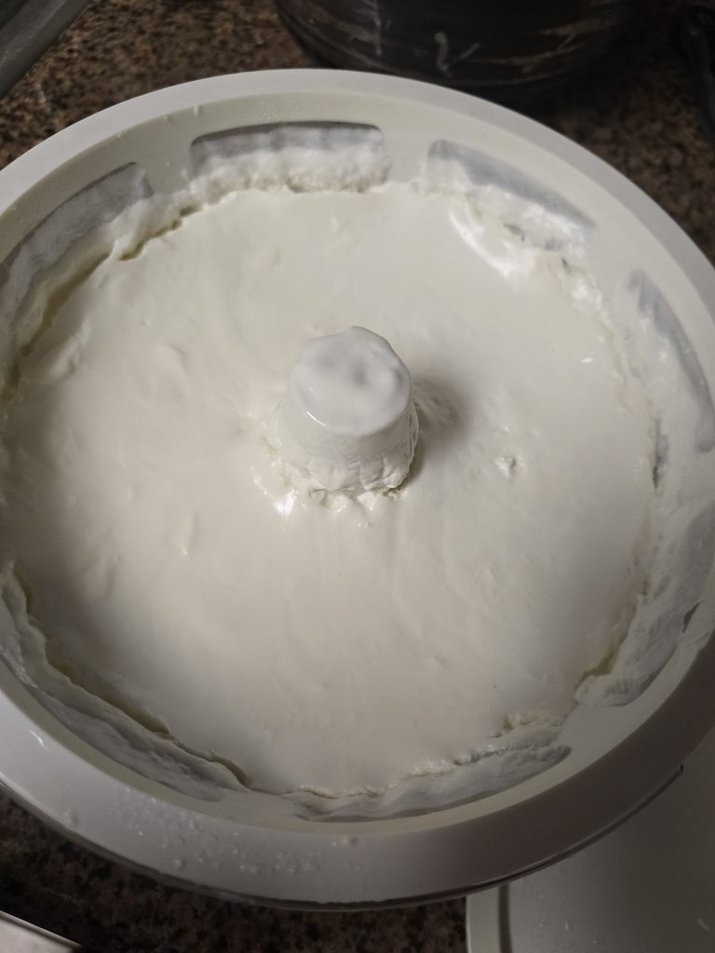
 I just put it in a Tupperware container to keep in the fridge and use as needed. Just remember, take a couple tablespoons out for your next batch. You can freeze this amount and just thaw it in the refrigerator the day before you plan to use it. You can choose to save the whey (water from the yogurt dripping) to use in future baking or just discard it.
Now it’s ready to a bit of honey, granola, mix with spices to marinate chicken, etc.
***I do earn a small commission on the Amazon affiliate links.

